
Last updated September 10, 2026
Full 25-point door and opener safety check with every visit - springs, cables, rollers, tracks, and your LiftMaster or Chamberlain opener included
You get a price before we start. It does not change when the truck arrives.
 Before
 After
After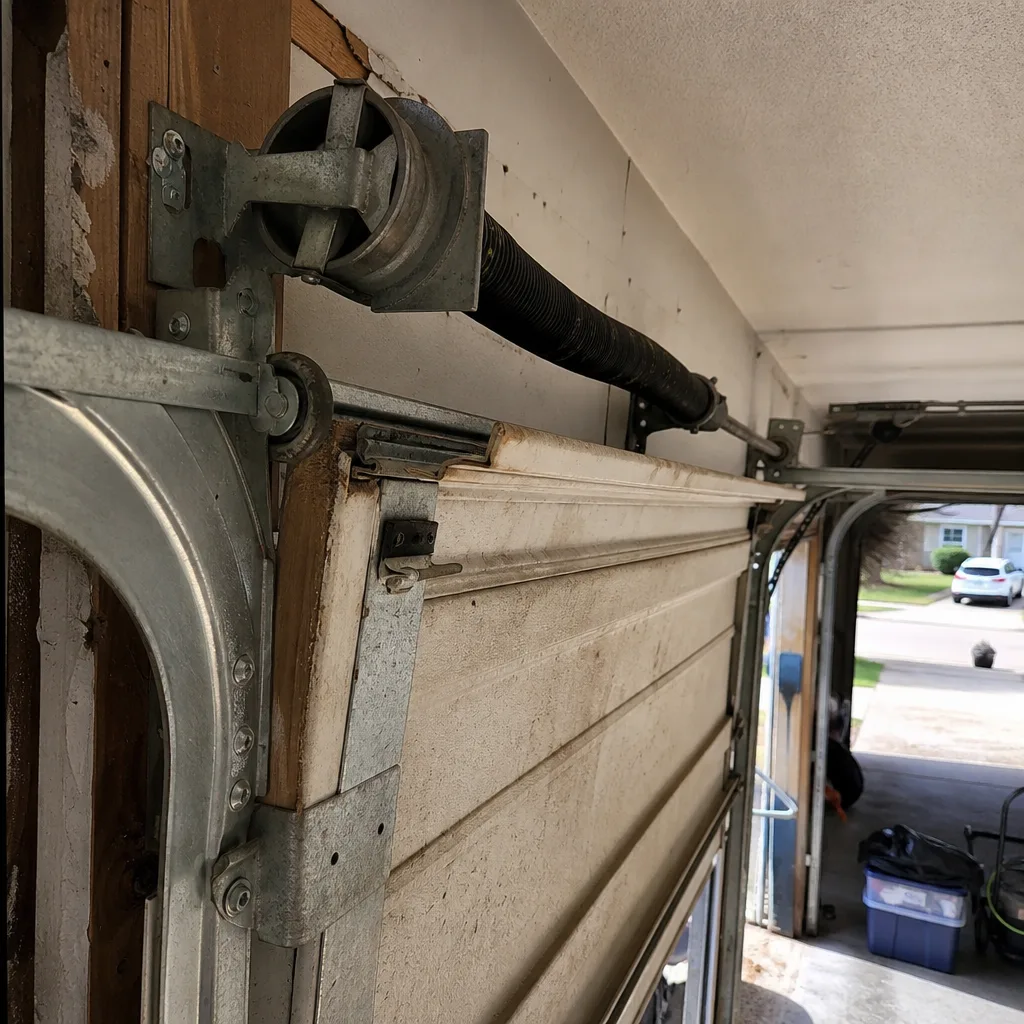 Before
 After
After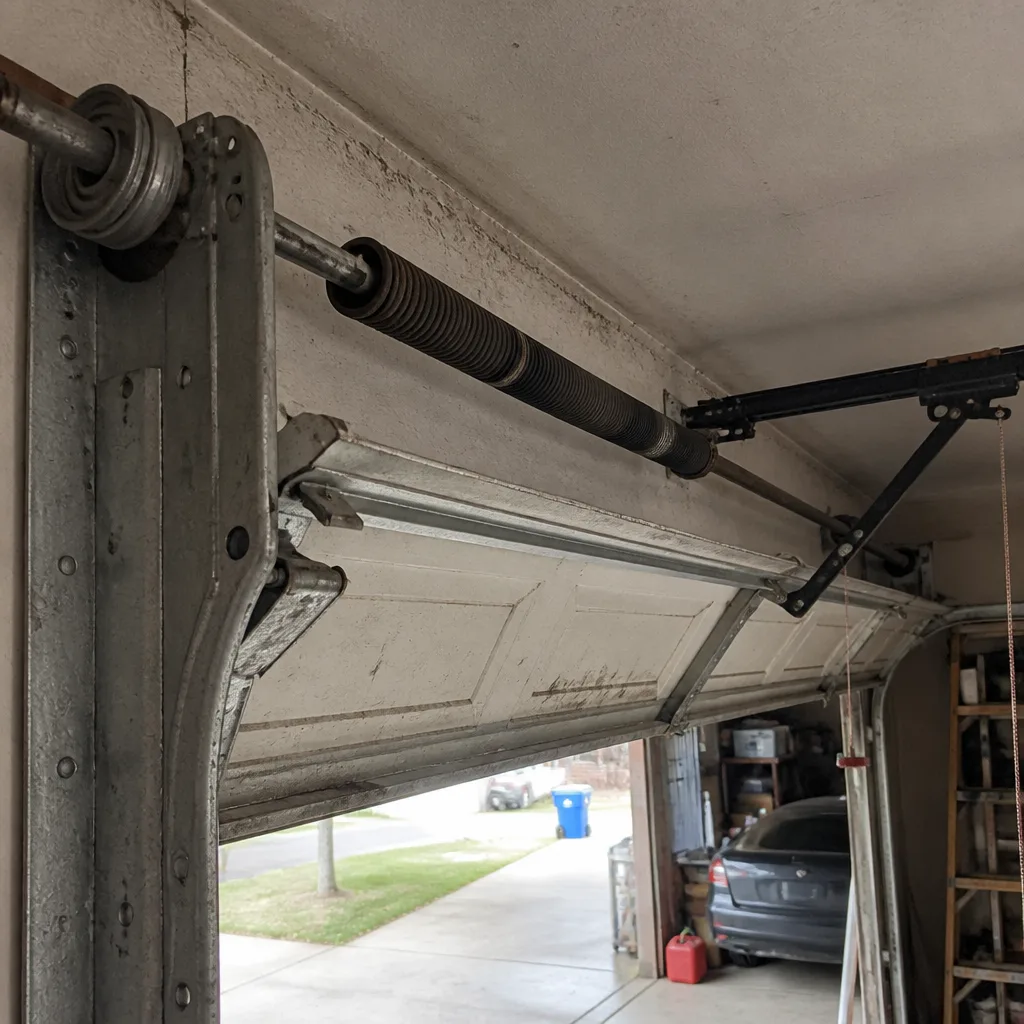 Before
 After
AfterDIY vs Professional Garage Door: The Carrollton Homeowner’s Decision Guide
A torsion spring on a standard two-car garage door stores roughly the same amount of energy as a half-stick of dynamite when fully wound. That’s not marketing copy. That’s physics. And it’s the first thing homeowners in Carrollton need to understand before picking up a wrench and staring down a broken door. This guide-along with our Garage Door Repair Maintenance Checklist for Carrollton Homeowners-gives you the straight answer on which garage door jobs you can safely handle in your own driveway and which ones will put you in the emergency room faster than you can say “spring under tension.” We’ll cover the actual costs of both routes, the tasks that genuinely save you money doing it yourself, the manufacturer warranty trap most people never see coming, and the middle-ground option almost no one knows exists.
Quick Answer
Most garage door maintenance tasks in Carrollton, TX like lubricating rollers, aligning photo-eye sensors, replacing weatherstripping, and programming remotes are genuinely DIY-safe and will save you between $80 and $200 per year in service calls. However, torsion spring replacement, cable repair, track realignment, and anything involving the door’s lifting mechanism should be handled by a professional because the stored energy in a wound spring can cause serious injury or death, and the specialized tools required often cost more than a single service visit.
Table of Contents
- What’s Actually Safe to DIY: The Four Jobs Otto Tells Homeowners to Do Themselves
- The Dangerous List: What Actually Happens When These Parts Fail Under Load
- Tool and Parts Cost Reality Check: When DIY Actually Saves Money
- How a Bad DIY Repair Voids Your Manufacturer Warranty
- The Middle Ground Most Homeowners Never Hear About
- Carrollton-Specific Factors: Heat, Humidity, and What They Do to Your Door
- Step-by-Step: The Four DIY Tasks Done Right
- Common Mistakes to Avoid
- When to Call a Professional
- Frequently Asked Questions
- The Bottom Line
What’s Actually Safe to DIY: The Four Jobs Otto Tells Homeowners to Do Themselves
I’ve been fixing garage doors in Carrollton since 2004, and I’m going to say something most garage door companies won’t: some of this work you absolutely should do yourself. Not because I don’t want the business, but because paying someone $95 to spray lubricant on eight rollers is ridiculous. Here’s the list I give homeowners when they call Otto’s Garage Door home asking whether a job is worth a service visit.
1. Lubrication
Every six months, your door needs the rollers, hinges, and springs lubricated. You need one can of white lithium grease or silicone spray, which costs about $8 at any Carrollton hardware store. Spray the roller bearings, the hinge points where metal meets metal, and run a light coat along the spring coils. Don’t use WD-40. It’s a solvent, not a lubricant, and it’ll strip whatever protection was there. This takes fifteen minutes and costs less than a fast food lunch.
2. Photo-Eye Sensor Alignment
If your door reverses immediately after touching the ground, or refuses to close at all, nine times out of ten the photo-eye sensors near the bottom of the track are out of alignment. Loosen the wing nut holding each sensor, adjust until the small LED light glows steady green or amber, then tighten. That’s it. Two minutes, a screwdriver, and you’ve saved yourself a $75 service call.
3. Remote Programming
Every modern opener from LiftMaster, Genie, or Craftsman uses a learn button on the motor head. Press it, press the remote button, done. If your car has built-in HomeLink, the process takes about three minutes with your owner’s manual. This is genuinely the easiest fix in the entire garage door industry, and no company should ever charge you for it.
4. Weatherstripping Replacement
That rubber strip along the bottom of your door rots in the Texas sun. You’ll notice it cracking, then crumbling, then gone. A replacement strip costs $12 to $25 at any home improvement store in Carrollton. Slide out the old one, slide in the new one, trim the ends. This is especially relevant for Carrollton homeowners because our summer heat bakes that rubber into brittle chunks faster than more temperate climates.
Those four tasks account for about 60% of the phone calls we get. If every Carrollton homeowner handled them solo, they’d save hundreds annually. And I’d rather you save that money, because when something genuinely dangerous breaks, I want you calling someone you trust instead of trying to stretch your budget after paying for avoidable service calls.
The Dangerous List: What Actually Happens When These Parts Fail Under Load
Now we get to the parts where I stop being polite about DIY. A garage door weighs between 130 and 200 pounds. The springs, cables, and tracks are managing that weight every single time the door moves. When one of these components fails while you’re working on it, the math is simple: 200 pounds moving faster than you can react. Here’s what actually happens, mechanically, when these jobs go wrong.
Torsion Springs
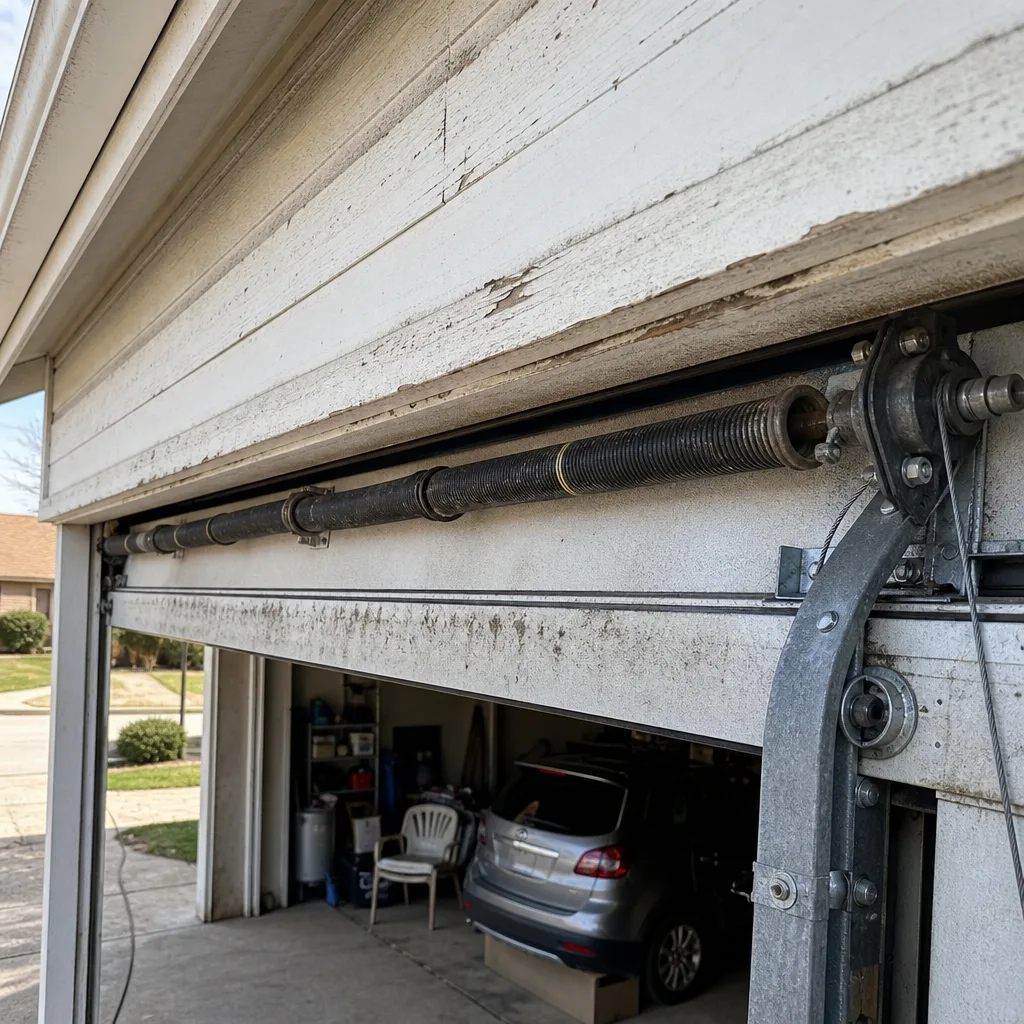
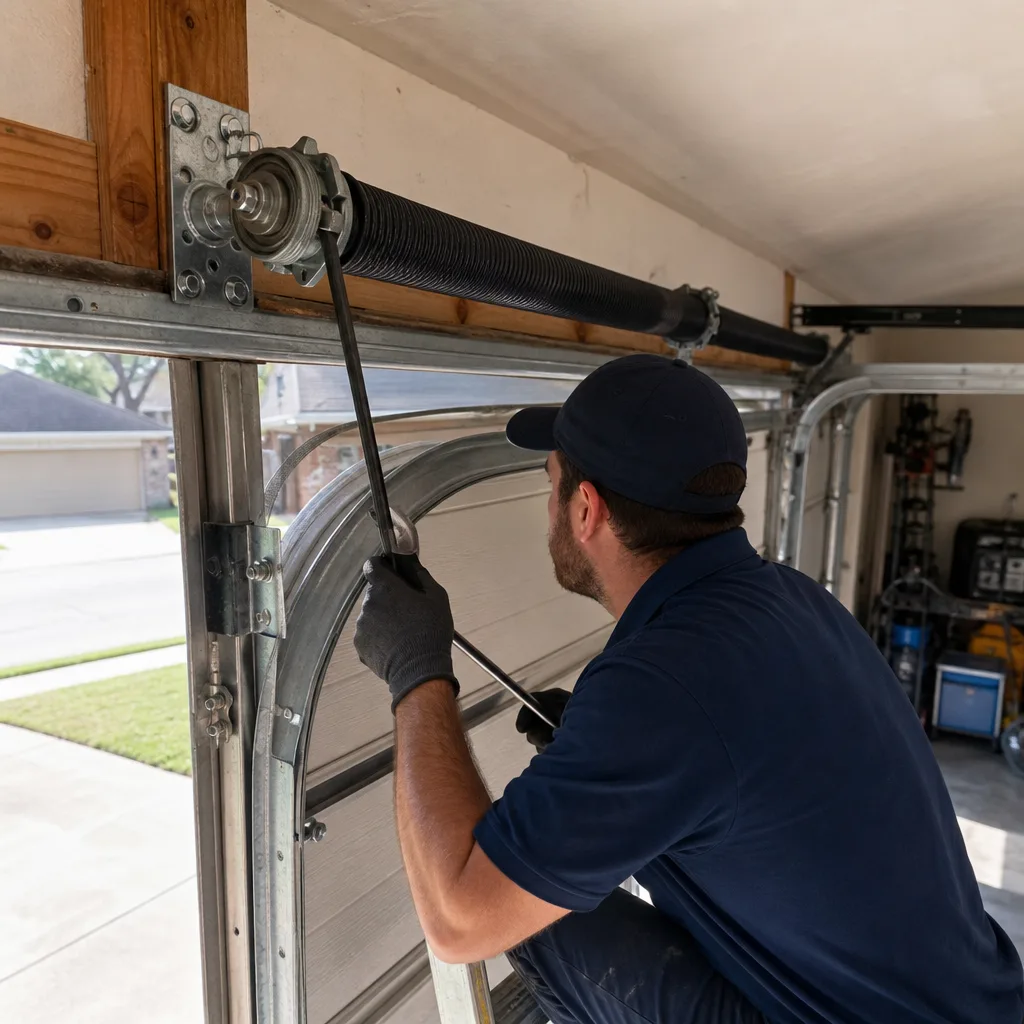
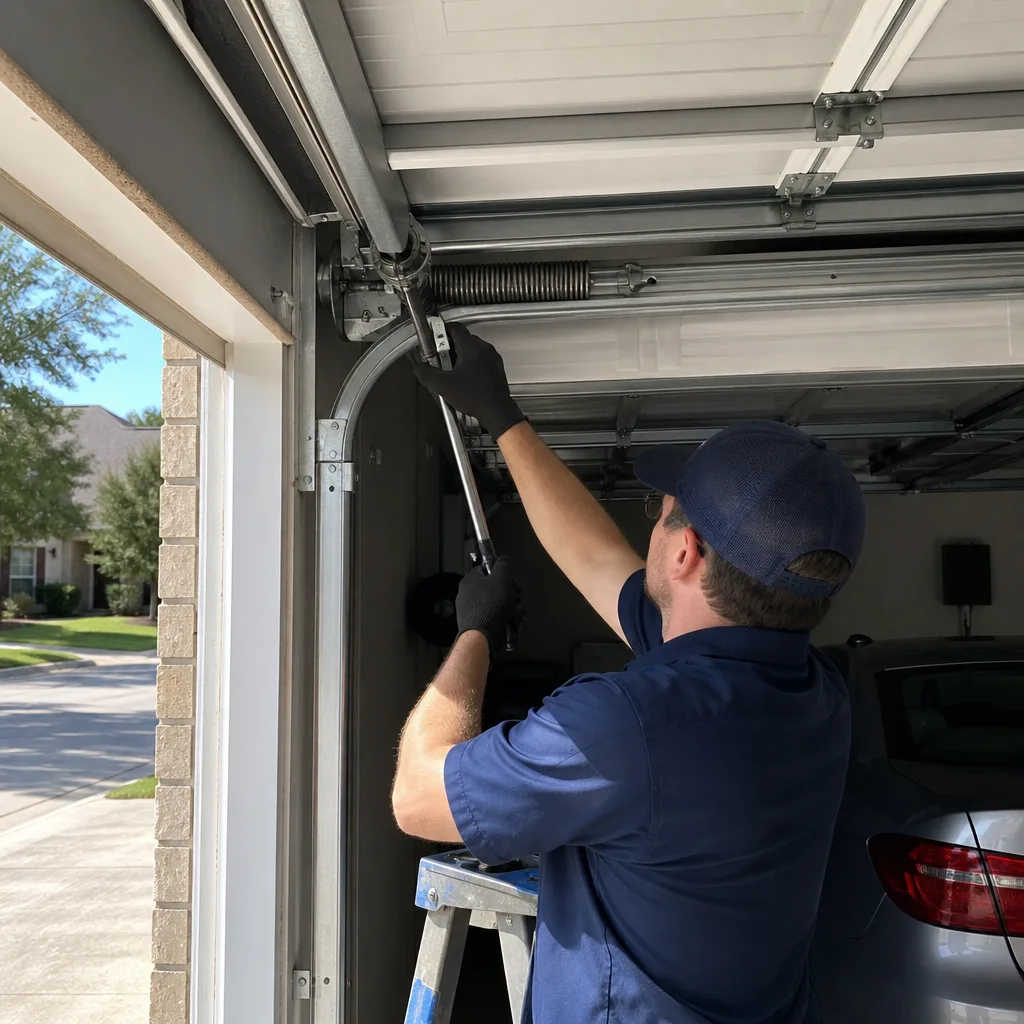
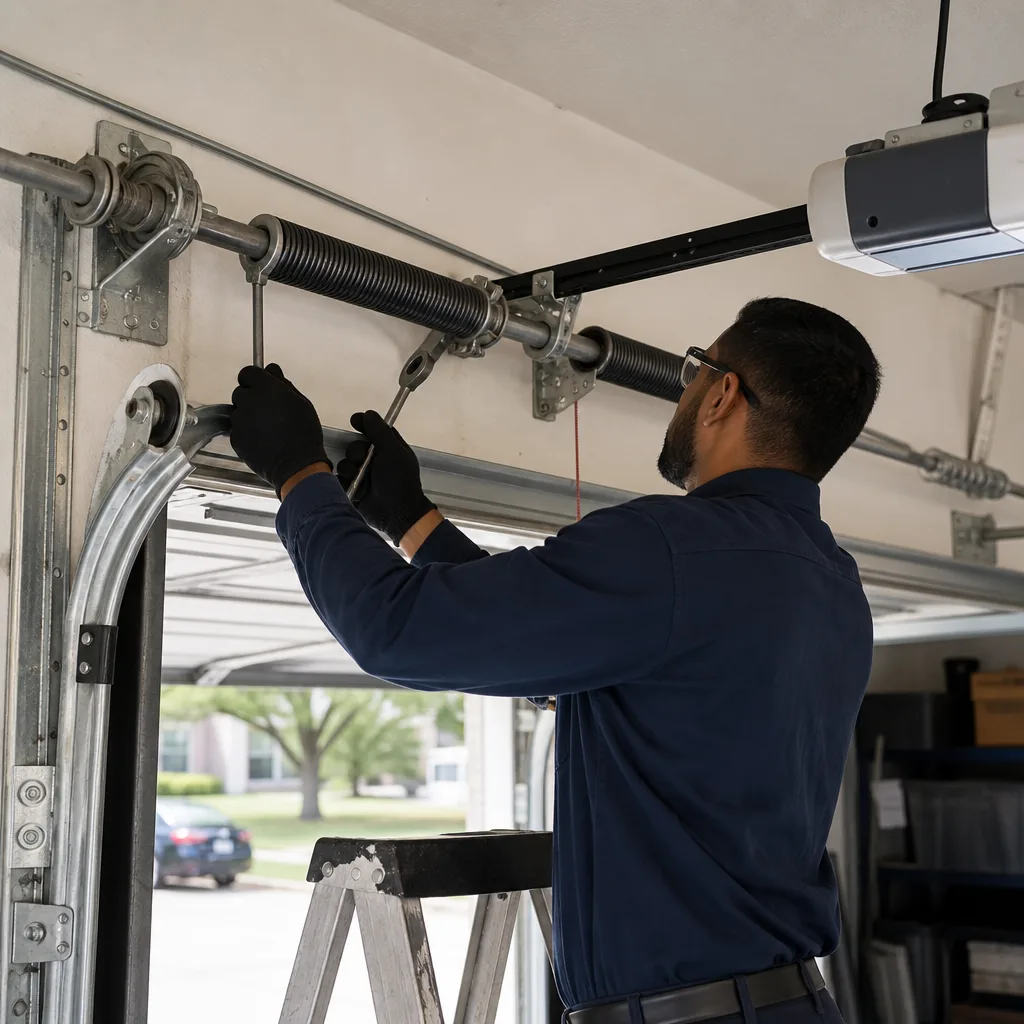
A torsion spring on a standard Carrollton two-car door is wound with seven full turns under tension. That’s storing about 500 pounds of torque energy. When a homeowner tries to remove or adjust a torsion spring without winding bars and the proper technique, that energy releases instantly. The winding cone or spring itself becomes a projectile traveling at roughly 400 feet per second. It will go through drywall. It will go through a car windshield. It will go through a human jaw without slowing down. In our experience, most homeowners don’t know they’re making a mistake until the spring has already unwound. There is no second chance with a torsion spring.
Extension Springs and Cables
Older Carrollton homes with single-car doors often use extension springs running along the horizontal track. When one snaps, the cable it’s attached to becomes a steel whip. Safety cables are a code requirement precisely because these cables have decapitated people. If you’re replacing an extension spring without proper tension management, you’re holding a loaded weapon. We replace these with properly sized springs every week, and I still treat each one like it’s the first one I’ve ever touched.
Bottom Brackets and Cable Drums
The bottom bracket holds the cable that connects to the spring system. It’s bolted to the corner of the door, which means it’s under direct spring tension at all times. Removing the wrong bolt means the tension takes the shortest path to zero, and that path usually involves the bracket flying past your face. We use specific clamping techniques before touching a single bolt on these assemblies.
Track Realignment
If your door is grinding or sticking, the track might be out of alignment. The repair sounds simple: loosen the bolts, nudge the track, retighten. The reality is that the track holds the full weight of the door when the springs are doing their job. Loosen the wrong bolt and the door comes down on top of you. A 150-pound door falling from six feet will break ribs and worse. We use lift cables and clamps to secure the door before we touch a single track bolt.
A door is 200 pounds riding on two springs. Respect it. That’s not a slogan. It’s the reason I won’t walk a homeowner through a spring replacement over the phone, even if they sound handy and own half the tools already.
Tool and Parts Cost Reality Check: When DIY Actually Saves Money
Let me lay out the actual numbers for homeowners in Carrollton, because the DIY-versus-pro decision usually comes down to money, and the math is more honest than most people assume. For a full breakdown of what different jobs cost, see our Garage Door Cost Breakdown: The Carrollton Homeowner’s Reference for 2026.
The DIY Tool Investment
For the four safe DIY tasks I listed above, your total investment looks like this:
- Lubrication: One can of silicone spray, $8. Zero tools needed.
- Sensor alignment: Phillips head screwdriver, already in your drawer. $0.
- Remote programming: A step stool to reach the motor head, or none if you’re tall enough. $0.
- Weatherstripping: Replacement strip $12-$25, utility knife to trim, already owned. Total under $30.
Your all-in investment for a year of DIY maintenance is under $40. That’s real savings.
The Professional Tool Investment for Dangerous Work
Here’s where the math flips. To safely replace a torsion spring yourself, you need:
- Two proper winding bars: $15-$30
- A torque wrench calibrated for spring tension: $60-$150
- Safety gloves rated for crush resistance: $25-$40
- The correct spring size and wire gauge for your specific door: $60-$120
- Experience to know when you’ve made a mistake before it becomes irreversible: priceless, and not available at any Carrollton hardware store
Your one-time tool cost for a single spring replacement lands between $160 and $340, assuming you get the right tools the first time and buy the right spring on the first try. We replace torsion springs in Carrollton day in and day out, and a typical spring replacement service runs comparable to or less than your tool investment once you factor in the parts we already stock on the truck. And if you buy the wrong spring size, you do the whole job twice. If you buy the wrong wire gauge, the door balances wrong and your opener burns out a year later. The DIY savings evaporate fast when you’re on the dangerous list.
When DIY Wins
DIY wins on maintenance, plain and simple. You should lubricate your own door, align your own sensors, program your own remote, and replace your own weatherstripping. You’ll spend about $40 a year and keep your door running smoothly between professional inspections.
When Pro Wins
Professional wins on anything involving springs, cables, tracks, and opener motor replacement. The tools cost more than the service call, the learning curve is measured in injuries, and a mistake means a door that doesn’t open when you need to leave for work on a Tuesday morning. That’s not a trade-off most Carrollton homeowners want to make.
How a Bad DIY Repair Voids Your Manufacturer Warranty
This is the part almost nobody talks about, and it’s the most expensive hidden cost in the whole DIY garage door conversation. Your garage door has a manufacturer warranty. If it’s from Wayne Dalton, Raynor, or Clopay, or Amarr, that warranty might cover springs, panels, tracks, and hardware for anywhere from five years to lifetime coverage. But here’s the fine print: that warranty is void if the damage results from improper installation or maintenance performed by an unqualified individual.
What does that mean in practice? You install a new torsion spring yourself. It’s off by one turn. The door is unbalanced, which puts stress on the opener. Six months later, the opener motor burns out. You file a warranty claim. The manufacturer sends an inspector. The inspector sees the spring wasn’t installed to tension specification. Claim denied. Your DIY spring replacement just cost you a spring, a tool set, and now a full-price opener replacement.
We see this situation in Carrollton more often than you’d think. A homeowner is proud of saving $150 on a spring job, then six months later they’re paying $350 for an opener that would have been covered under warranty if the original work had been done properly. The warranty also typically requires maintenance records. If a panel rusts through and you can’t show that the door was lubricated and maintained per manufacturer guidelines, you’re looking at denied coverage.
When we do a Garage Door Repair in Carrollton, the work is documented, the parts are installed to manufacturer spec, and your warranty stays intact. That’s not a sales pitch. That’s the difference between a $180 repair and a $1,200 replacement six months later.
The Middle Ground Most Homeowners Never Hear About
There’s an option between full DIY and full professional that virtually no one knows exists, and I mention it to every Carrollton homeowner who calls with a complicated job they’re hoping to tackle themselves. Pay a professional to do the dangerous part, and finish the rest yourself.
Here’s how it works in practice. Your torsion spring snaps. The dangerous part is unwinding the remaining spring half, removing the old springs, installing new ones, and winding them to the correct tension. That’s where the risk lives. But maybe you also want to replace your bottom seal, or repaint the door, or install new weatherstripping while the door is up and disengaged. Those are DIY tasks you can handle.
So you call me. I come out, do the spring replacement safely, get the door balanced, and leave everything disengaged so you can do your weatherstripping and painting over the weekend. You’ve paid for the professional part, saved on the labor you can handle, and you’ve done exactly zero dangerous work. When you’re finished with your part, I come back for a quick balance check, or you run it yourself and it’s already right.
We’ve done this kind of split arrangement dozens of times for homeowners in the Carrollton area. It’s not a standard service package, but it should be. More companies should tell homeowners when a job is partially DIY-friendly. For more guides & resources on finding that balance, check our blog. The truth is that most garage door companies want you to believe everything is dangerous so you never touch anything and always call. That’s not how you build a relationship with a community. It’s how you build a call center.
If you’ve got a Garage Door Installation in Carrollton coming up, think about which parts you’d want to handle yourself and which you’d rather leave to someone who’s done it a thousand times. When you call around, ask the company flat-out if they’ll split the job. If the answer is no, keep looking.
Carrollton-Specific Factors: Heat, Humidity, and What They Do to Your Door
Garage doors in Carrollton, Texas live a harder life than garage doors in most of the country. We’re seeing high temperatures north of 95 degrees for stretches that run from May through September, with humidity that alternates between oppressive and merely unpleasant. That climate does specific things to specific parts.
Springs in Carrollton fail faster than springs in, say, Minnesota. Heat accelerates metal fatigue. A torsion spring on a two-car door that lasts eight years in a cooler climate might last five or six here. We count spring cycles the way you count tire miles, and in our experience, Carrollton springs are good for roughly 10,000 cycles in ideal conditions, which translates to about seven years of average use. The heat shaves off a cycle here and there, and before you know it, you’re calling about a snapped spring on a 102-degree Tuesday.
Weatherstripping, as I mentioned earlier, turns brittle in the Texas sun. If your door faces west and takes full afternoon sun, expect to replace the bottom seal every two to three years instead of the five you’d get in a milder climate. This is a DIY job, it’s cheap, and it’s a Carrollton-specific maintenance item you should put on your calendar.
Humidity also warps doors over time. A wood door in Carrollton will start to bow and swell within a decade if it’s not maintained, especially if it faces the weather without a seal replaced. Bowed sections put uneven pressure on the tracks, which throws the door out of alignment, which eventually burns out the opener motor. The fix for a warped door is usually a full replacement, which is why catching it early matters.
None of this is unique to our area in a catastrophic sense, but the patterns are consistent across the neighborhoods we service in Carrollton. The homes off Belt Line Road see the same heat damage as the ones near Hebron Parkway. The difference is whether the homeowner caught it at the maintenance stage or waited until something snapped.
Step-by-Step: The Four DIY Tasks Done Right
For the homeowners who want to handle the safe stuff themselves, here are the exact steps. Follow them in order, which matters more than people think.
How to Lubricate Your Garage Door
- Disconnect the opener by pulling the release cord so you can move the door manually.
- Run the door up and down once by hand to check for squeaks, grinding, or sticking.
- Spray the roller bearings, one at a time. If you have steel rollers, aim for the bearing stem. If you have nylon rollers, the bearings are inside the wheel.
- Spray each hinge pivot point where the metal plates rotate against each other.
- Run a light coat of lubricant along the torsion spring coils from end to end.
- Wipe away any excess with a rag to prevent drips on your car.
- Reconnect the opener and run the door twice to distribute the lubricant.
How to Align Photo-Eye Sensors
- Check the sensor LED lights. If one is blinking or off, that’s the misaligned sensor.
- Loosen the wing nut holding the sensor in its bracket just enough to move it.
- Adjust the sensor by hand, watching the LED. When the light goes solid, it’s aligned.
- If you can’t get a solid light, wipe the lens with a soft dry cloth and try again.
- Tighten the wing nut gently. Don’t overtighten, or you’ll crack the sensor housing.
- Close the door and watch the full cycle. It should travel down smoothly and reverse if blocked.
How to Program a Garage Door Remote
- Find the learn button on the back or side of your opener motor head. It’s usually a small, colored square or round button.
- Press and release the learn button. A small LED next to it will light up and stay on for roughly 30 seconds.
- Within that 30-second window, press and hold the button on your remote that you want to program.
- Release the remote button when the opener lights blink or you hear a click.
- Test the remote by pressing the programmed button again. The door should activate.
How to Replace Bottom Weatherstripping
- Open the door fully and clamp a pair of vise grips onto the track just below the bottom roller to prevent accidental closing.
- Pull the old weatherstripping out of the retainer channel on the door bottom. Start at one end and work across.
- Clean out the channel with a brush or rag to remove accumulated dirt and crumbled rubber.
- Spray a light coat of silicone lubricant inside the channel to help the new strip slide in.
- Feed the new weatherstripping into one end of the channel and push it through to the other side.
- Trim the ends flush with the door edge using a utility knife.
- Remove the vise grips and close the door to check the seal against the floor.
Those four procedures cover most of what a homeowner should reasonably handle. Notice that no step in any of those four tasks involves loosening a bolt under spring tension, removing a cable, or standing under a supported door. That’s the line.
Common Mistakes to Avoid
- Using WD-40 on the tracks and springs. WD-40 is a water displacement solvent, not a garage door lubricant. It actually strips existing lubrication and leaves the metal dry, which makes your door noisier within two weeks. Use white lithium grease or silicone spray.
- Skipping the safety cable on extension springs. Older Carrollton homes often have extension spring systems without safety cables. If you replace springs and don’t install the cable, you’ve created a steel whip in your garage ceiling that will injure or kill anyone in its path when it snaps.
- Replacing only one spring. Torsion springs are rated for the same number of cycles, so when one breaks in a two-spring system, the other is on its last cycles too. Replace both. Replacing one means the door is unbalanced, which wears out the new spring faster and strains the opener. We replace both springs on every two-spring door in Carrollton.
- Adjusting the spring tension manually without winding bars. Using screwdrivers, rebar, or anything other than proper winding bars is a recipe for a projectile wound. The bars must fit the winding cone sockets exactly. A loose fit means the bar slips, and the spring unwinds with your hand inside the coil.
- Ignoring a door that opens or closes unevenly. If one side of the door hangs lower than the other, something is wrong in the balance system. Letting it ride for months wears the cables unevenly, which leads to a cable snap, which leads to a door falling. Uneven doors in Carrollton never fix themselves.
- Buying a replacement spring based on guesswork. Torsion springs are sized by wire gauge, inside diameter, length, and wind direction. Mixing any of those four specs means the spring won’t fit, won’t balance, or won’t wind. We carry the correct springs on the truck, because we measure before we order.
When to Call a Professional
Call a professional when the broken part is under spring tension, connected to a cable, or responsible for holding the door’s weight. That means torsion springs, extension springs, cables, bottom brackets, cable drums, and track realignment. Call a professional when your opener motor has failed and needs replacement on a door that stays closed, because the job requires supporting the door safely while disengaging the opener. Call a professional if you’ve already attempted a repair and the door now makes a different noise than before, or won’t close all the way, or reverses at random times. We get those calls regularly in Carrollton, and the story is usually the same: a simple fix became a complicated one because a well-intentioned homeowner went one step past what was safe. There’s no shame in drawing the line. Garage Door Opener in Carrollton replacements are another one we handle routinely, and Otto’s Garage Door offers free estimates in Carrollton – call (945) 445-8489 before you pick up the tools.
Frequently Asked Questions
Garage door repair costs in Carrollton vary by the type of job. A basic lubrication and tune-up runs $75 to $125. Sensor alignment or remote programming is often free with a service call or minimal as a standalone visit. Torsion spring replacement typically runs $180 to $320 depending on the spring size and door weight. Opener replacement runs $250 to $500 for the unit plus installation labor. The best way to get an exact number is to call (945) 445-8489 for a free estimate, and the price you’re quoted is the price you pay.
You technically can, but you shouldn’t. Torsion springs store enough energy when wound to send a metal object through a car windshield, and the proper winding bars plus the correct spring cost more than a professional replacement in many cases. Extension springs create a steel whip hazard when they fail. Call a professional for any spring work in Carrollton.
Lubricating the rollers, hinges, and springs is DIY-safe, as is aligning photo-eye sensors, programming remotes, and replacing bottom weatherstripping. These four tasks cover most of the maintenance your door needs and can be completed with hand tools and a $40 budget. The dangerous work involves springs, cables, and tracks.
The most common cause in Carrollton homes is misaligned photo-eye sensors near the floor. The system thinks something is blocking the door and reverses to prevent crushing it. Realign the sensors so the LED lights glow solid, clean the lenses, and the problem usually disappears.
Carrollton’s summer heat and humidity accelerate wear on springs and weatherstripping, so we recommend a professional inspection every 12 to 18 months, with DIY lubrication every six months. Spring replacement timing depends on cycle count and heat exposure, but most Carrollton doors need new springs every five to seven years.
Yes. Manufacturer warranties from Wayne Dalton, Raynor, Clopay, and Amarr typically require that repairs be performed to specification by a qualified professional. A DIY spring installed incorrectly or a door balanced wrong voids coverage, and the manufacturer will deny claims for subsequent damage. Keep your warranty intact by using a professional for anything beyond basic maintenance.
The Bottom Line
The honest answer to the DIY-versus-professional question is that it depends on which part broke. Homeowners in Carrollton should absolutely handle lubrication, sensor alignment, remote programming, and weatherstripping on their own; it’s cheap, safe, and keeps the door running between professional visits. But springs, cables, tracks, and bottom brackets come with real risks that no amount of YouTube confidence will eliminate, and the tool investment often matches or exceeds the cost of a professional repair. Most importantly, a bad DIY repair on a dangerous component can void your manufacturer warranty and turn a $200 fix into a $1,200 replacement. Split the difference when you can, pay a pro for the dangerous part, and finish the easy stuff yourself.
Written by Otto Reinhardt, Owner at Otto’s Garage Door, serving Carrollton since 2004.